You can easily upload photos of your venue. Head to Settings >> Manage Photos. (It's near the bottom of the settings list.)
If you're editing the photos for the first time, you'll see some example pictures. You can upload new pictures to replace these.
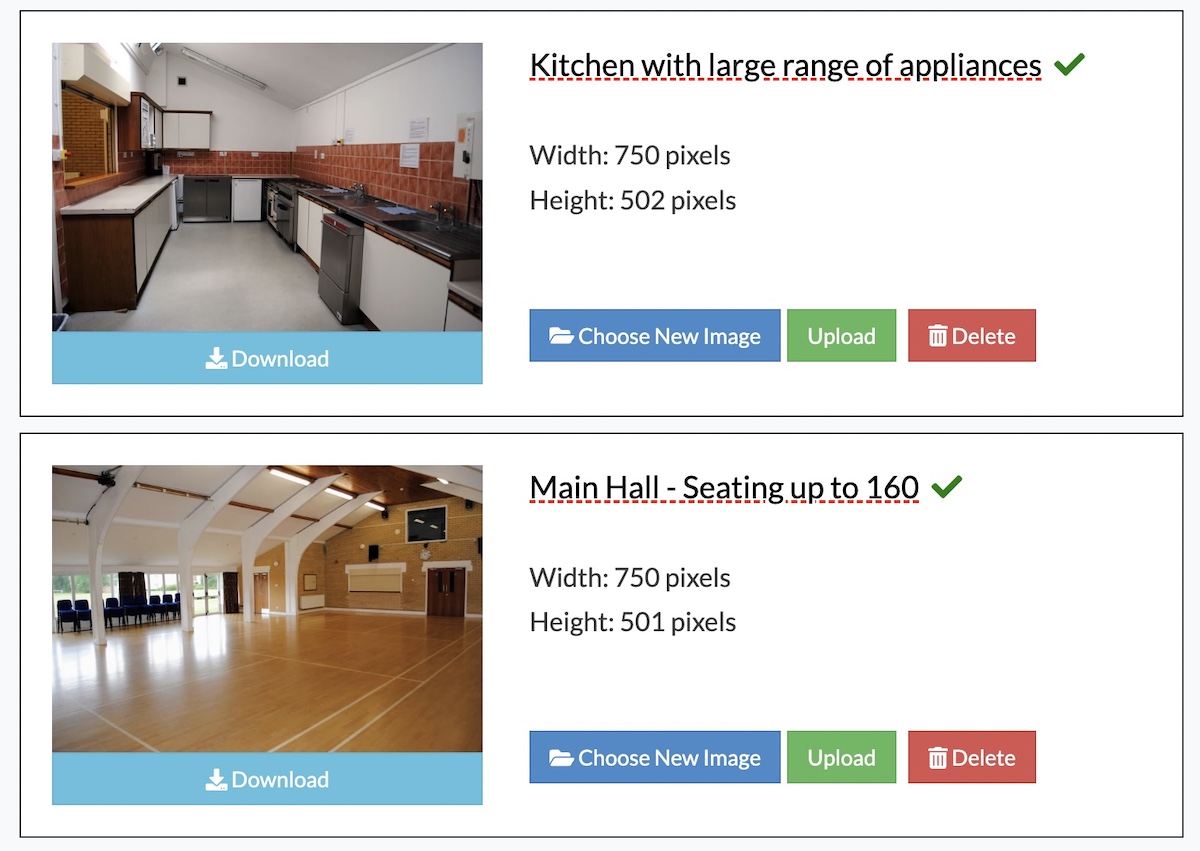
Upload a new photo by clicking on Choose New Image. A dialogue box will pop up. Select the photo and click OK to that the dialogue box disappears. Then click on the green Upload button. You're done!
The largest width that is needed for images is 750 pixels for the regular photos and 1200 pixels for the top ‘banner’ image. Typical smartphone cameras will take pictures that are several thousand pixels wide.
If you upload a picture that is too large, our system will automatically reduce the uploaded version to 750 pixels, or 1200 pixels for the top ‘banner’ photograph.
If you uploaded photos before the resizing function became available (June 2022), you might get a warning telling you that the photo is very large. You can either re-upload it, or get in touch with us, and we'll resize the photo for you.
Tip: The photos look best when they are all the same way round and size.
If you don't want the photograph section on the ‘About Us’ page, just delete any photos that have been uploaded. You can keep the top banner photo. The photos section will then be removed.
If you're having any difficulties uploading photos, send the images to info@hallbookingonline.com as an attachment. We'll check the files and then upload them for you.
Looking for more help?
Check out our PDF Guide or contact us if you need more assistance.